Hey Everyone! I hope this project finds you safe and well. I thought with Easter coming up that I could work on some Easter/Spring projects this week. Bunnies are a great place to start! This project doesn’t require a lot of materials. I tried to go step by step on how to draw the bunny. It doesn’t have to be exactly like mine. Be creative! This project really touches on patterns. Patterns being things that repeat over and over again. Talking to you kids about patterns could be really fun. You see patterns used all over. You can see them on your couch cushions, your clothes, your rug, your tissue box, ect. You can talk about the different things that make patterns such as lines, shapes, and you can even make dance patterns! Patterns are fun. This is a fun project to explore them. I hope you enjoy and stay safe.
Materials
These are the materials you will need to complete this project.
-2 sheets of white paper
-Scissors
-Markers
-Pencil
-Glue Stick
Break It Up
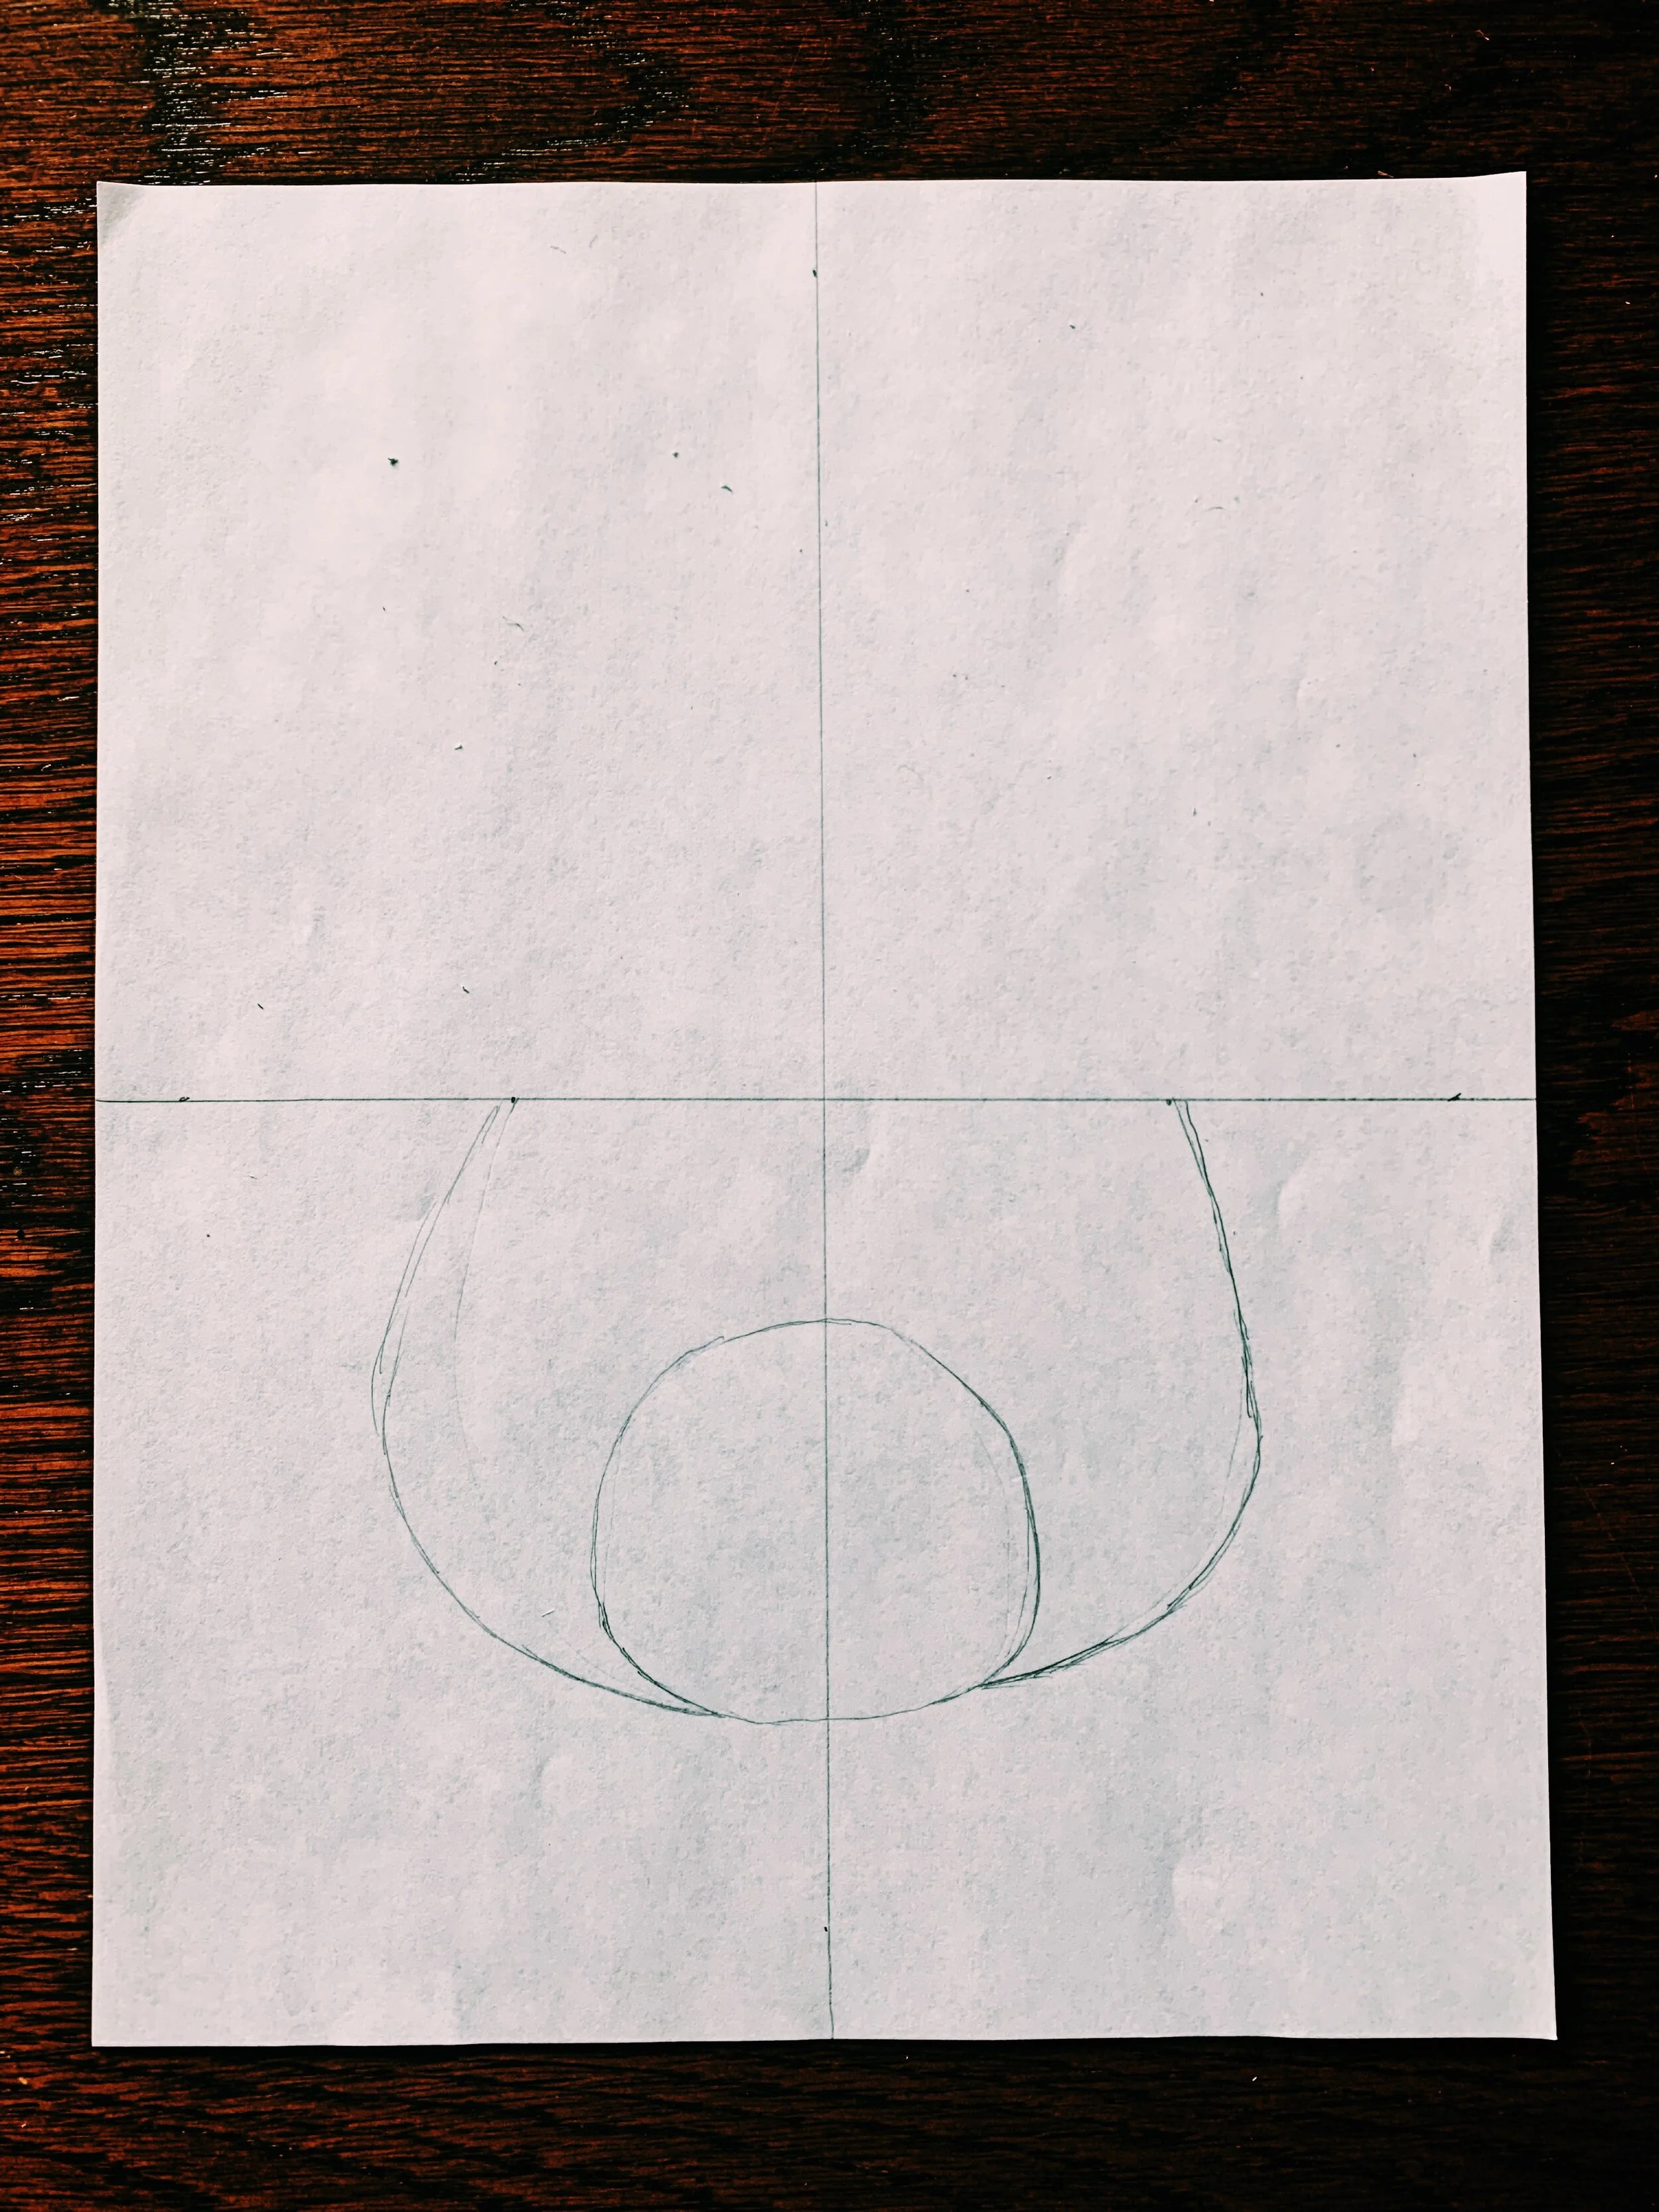
For this part I recommend using a pencil. To make it easier, I like to break the image up into 4 even sections. This just makes it easier to see on your paper where you should draw.
Circle
Right below the center, draw a circle like this.
Add 2 Lines
Draw two lines that go from the bottom of the circle to the middle line.
Half Circle
From those two lines connect them making a half circle in the top two sections.
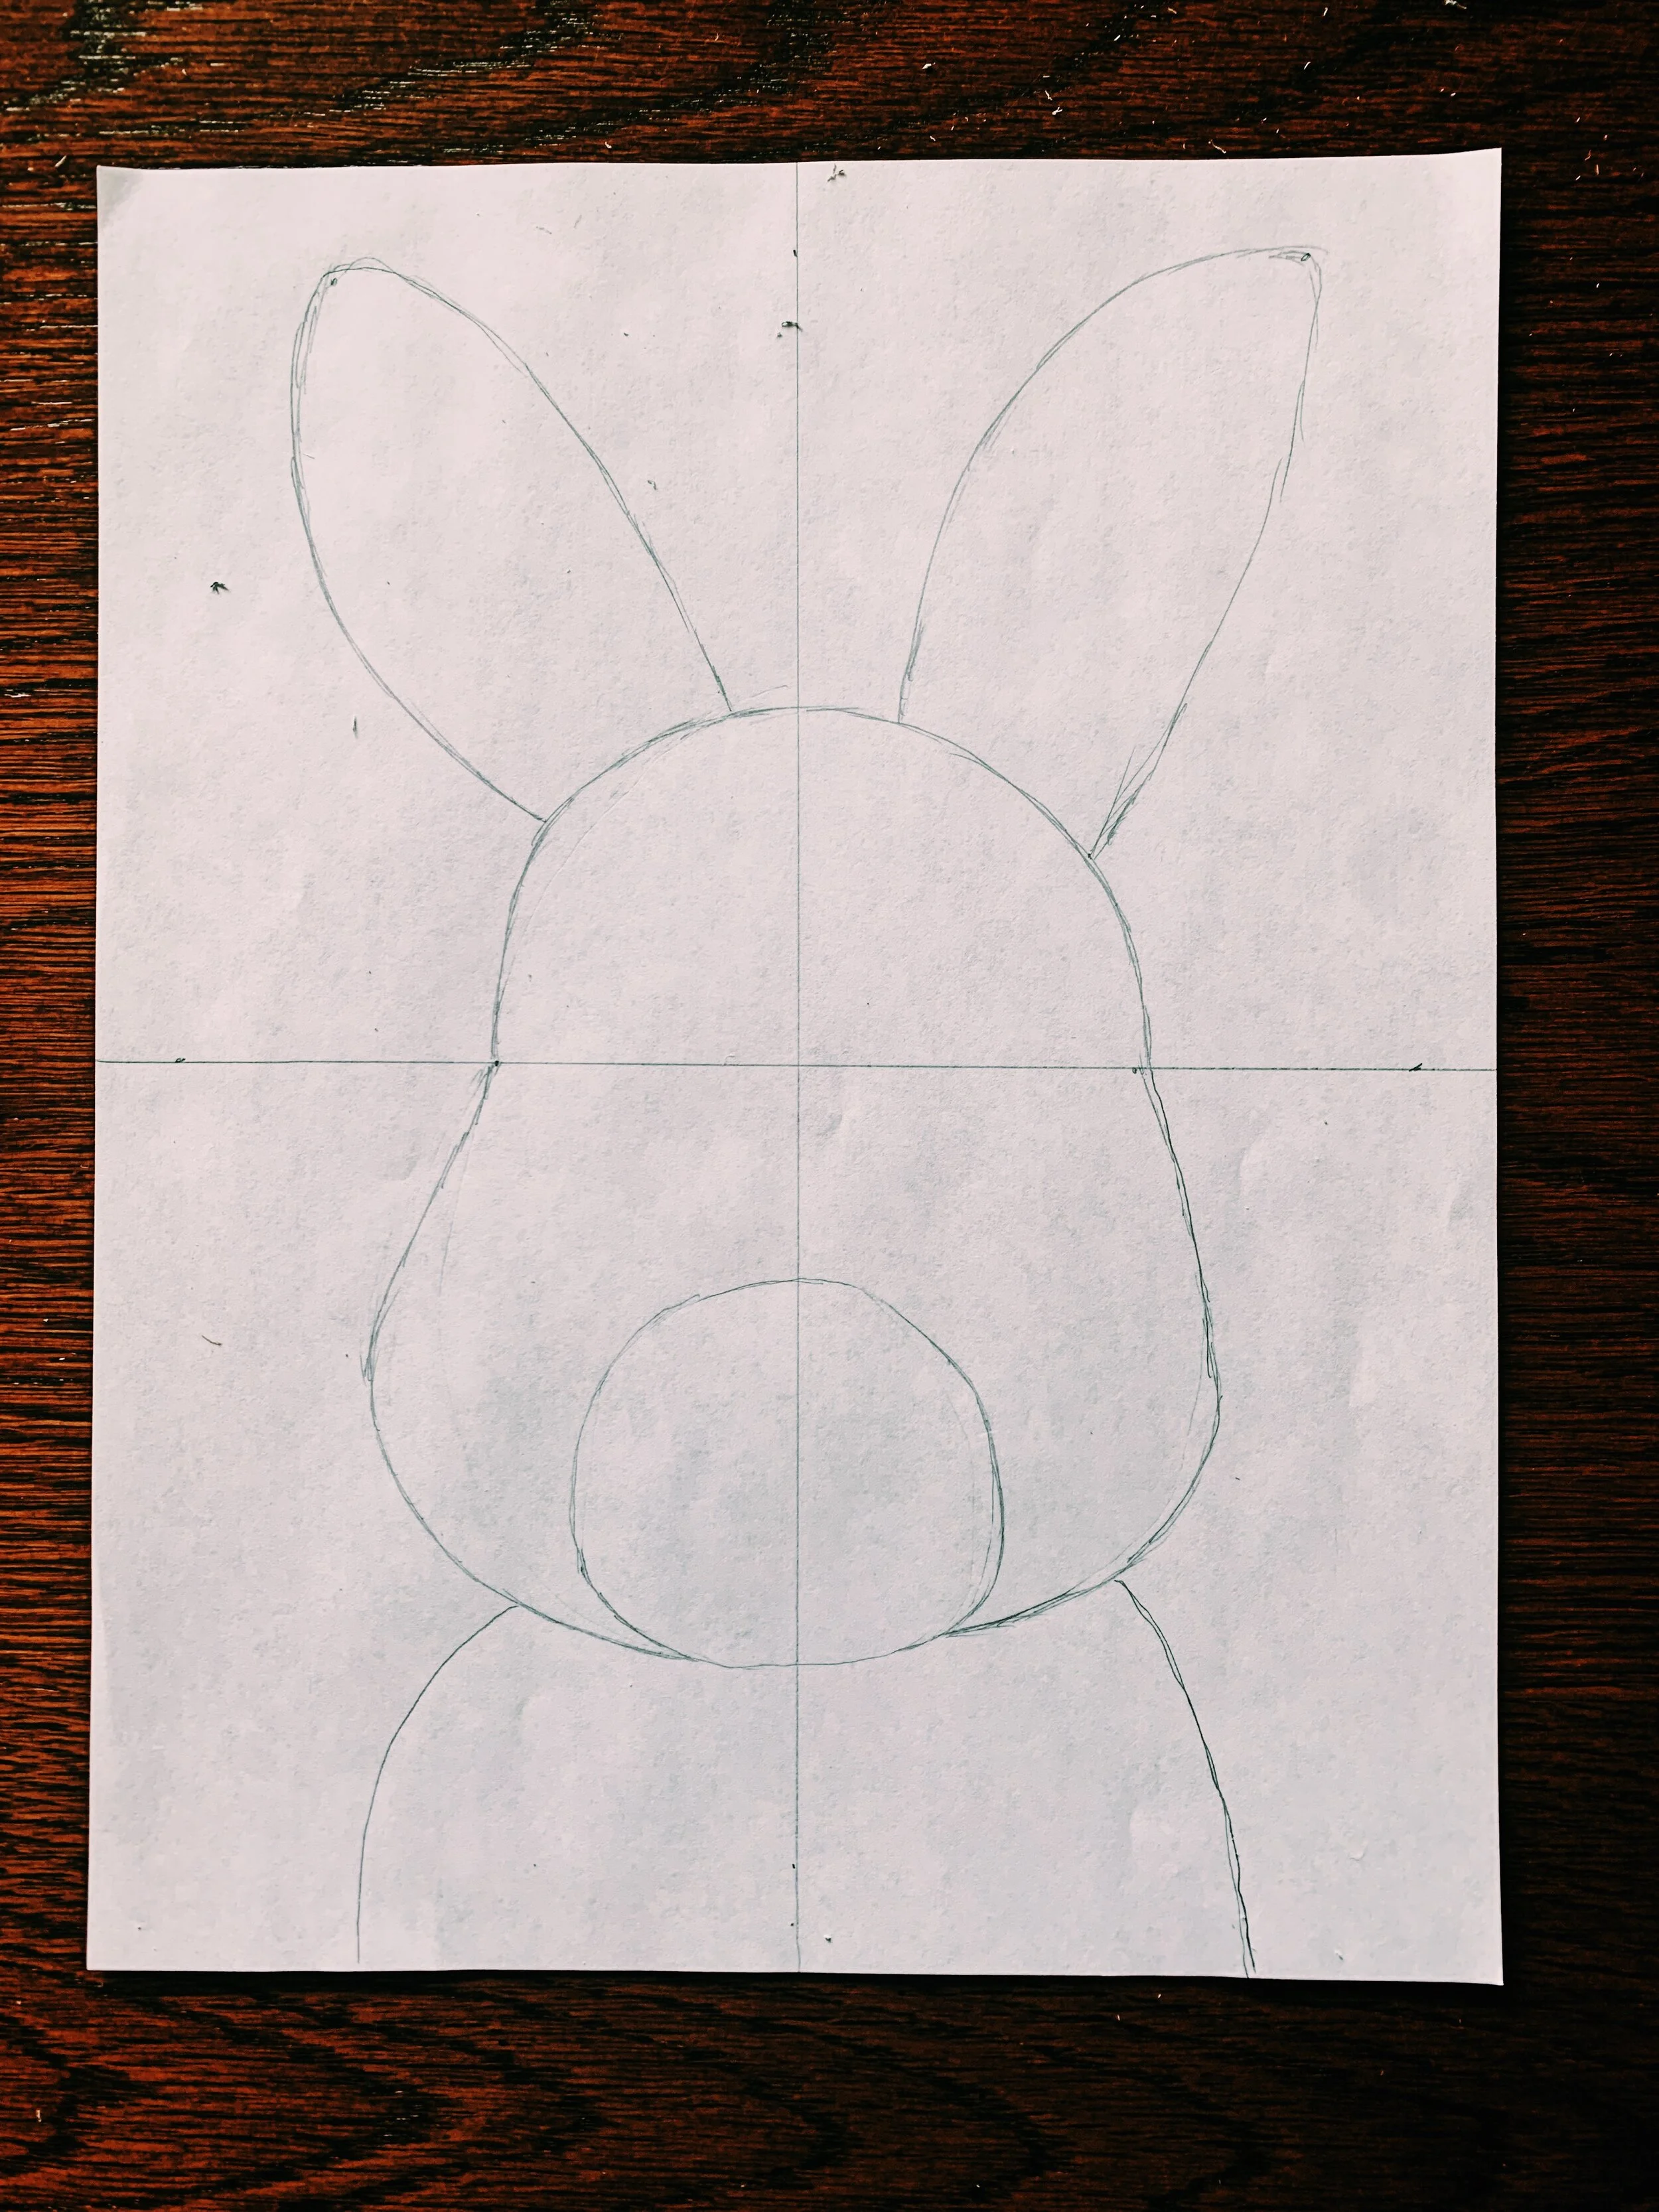
Ears and Body
Now that we have the shape of the head, draw the ears and the body.
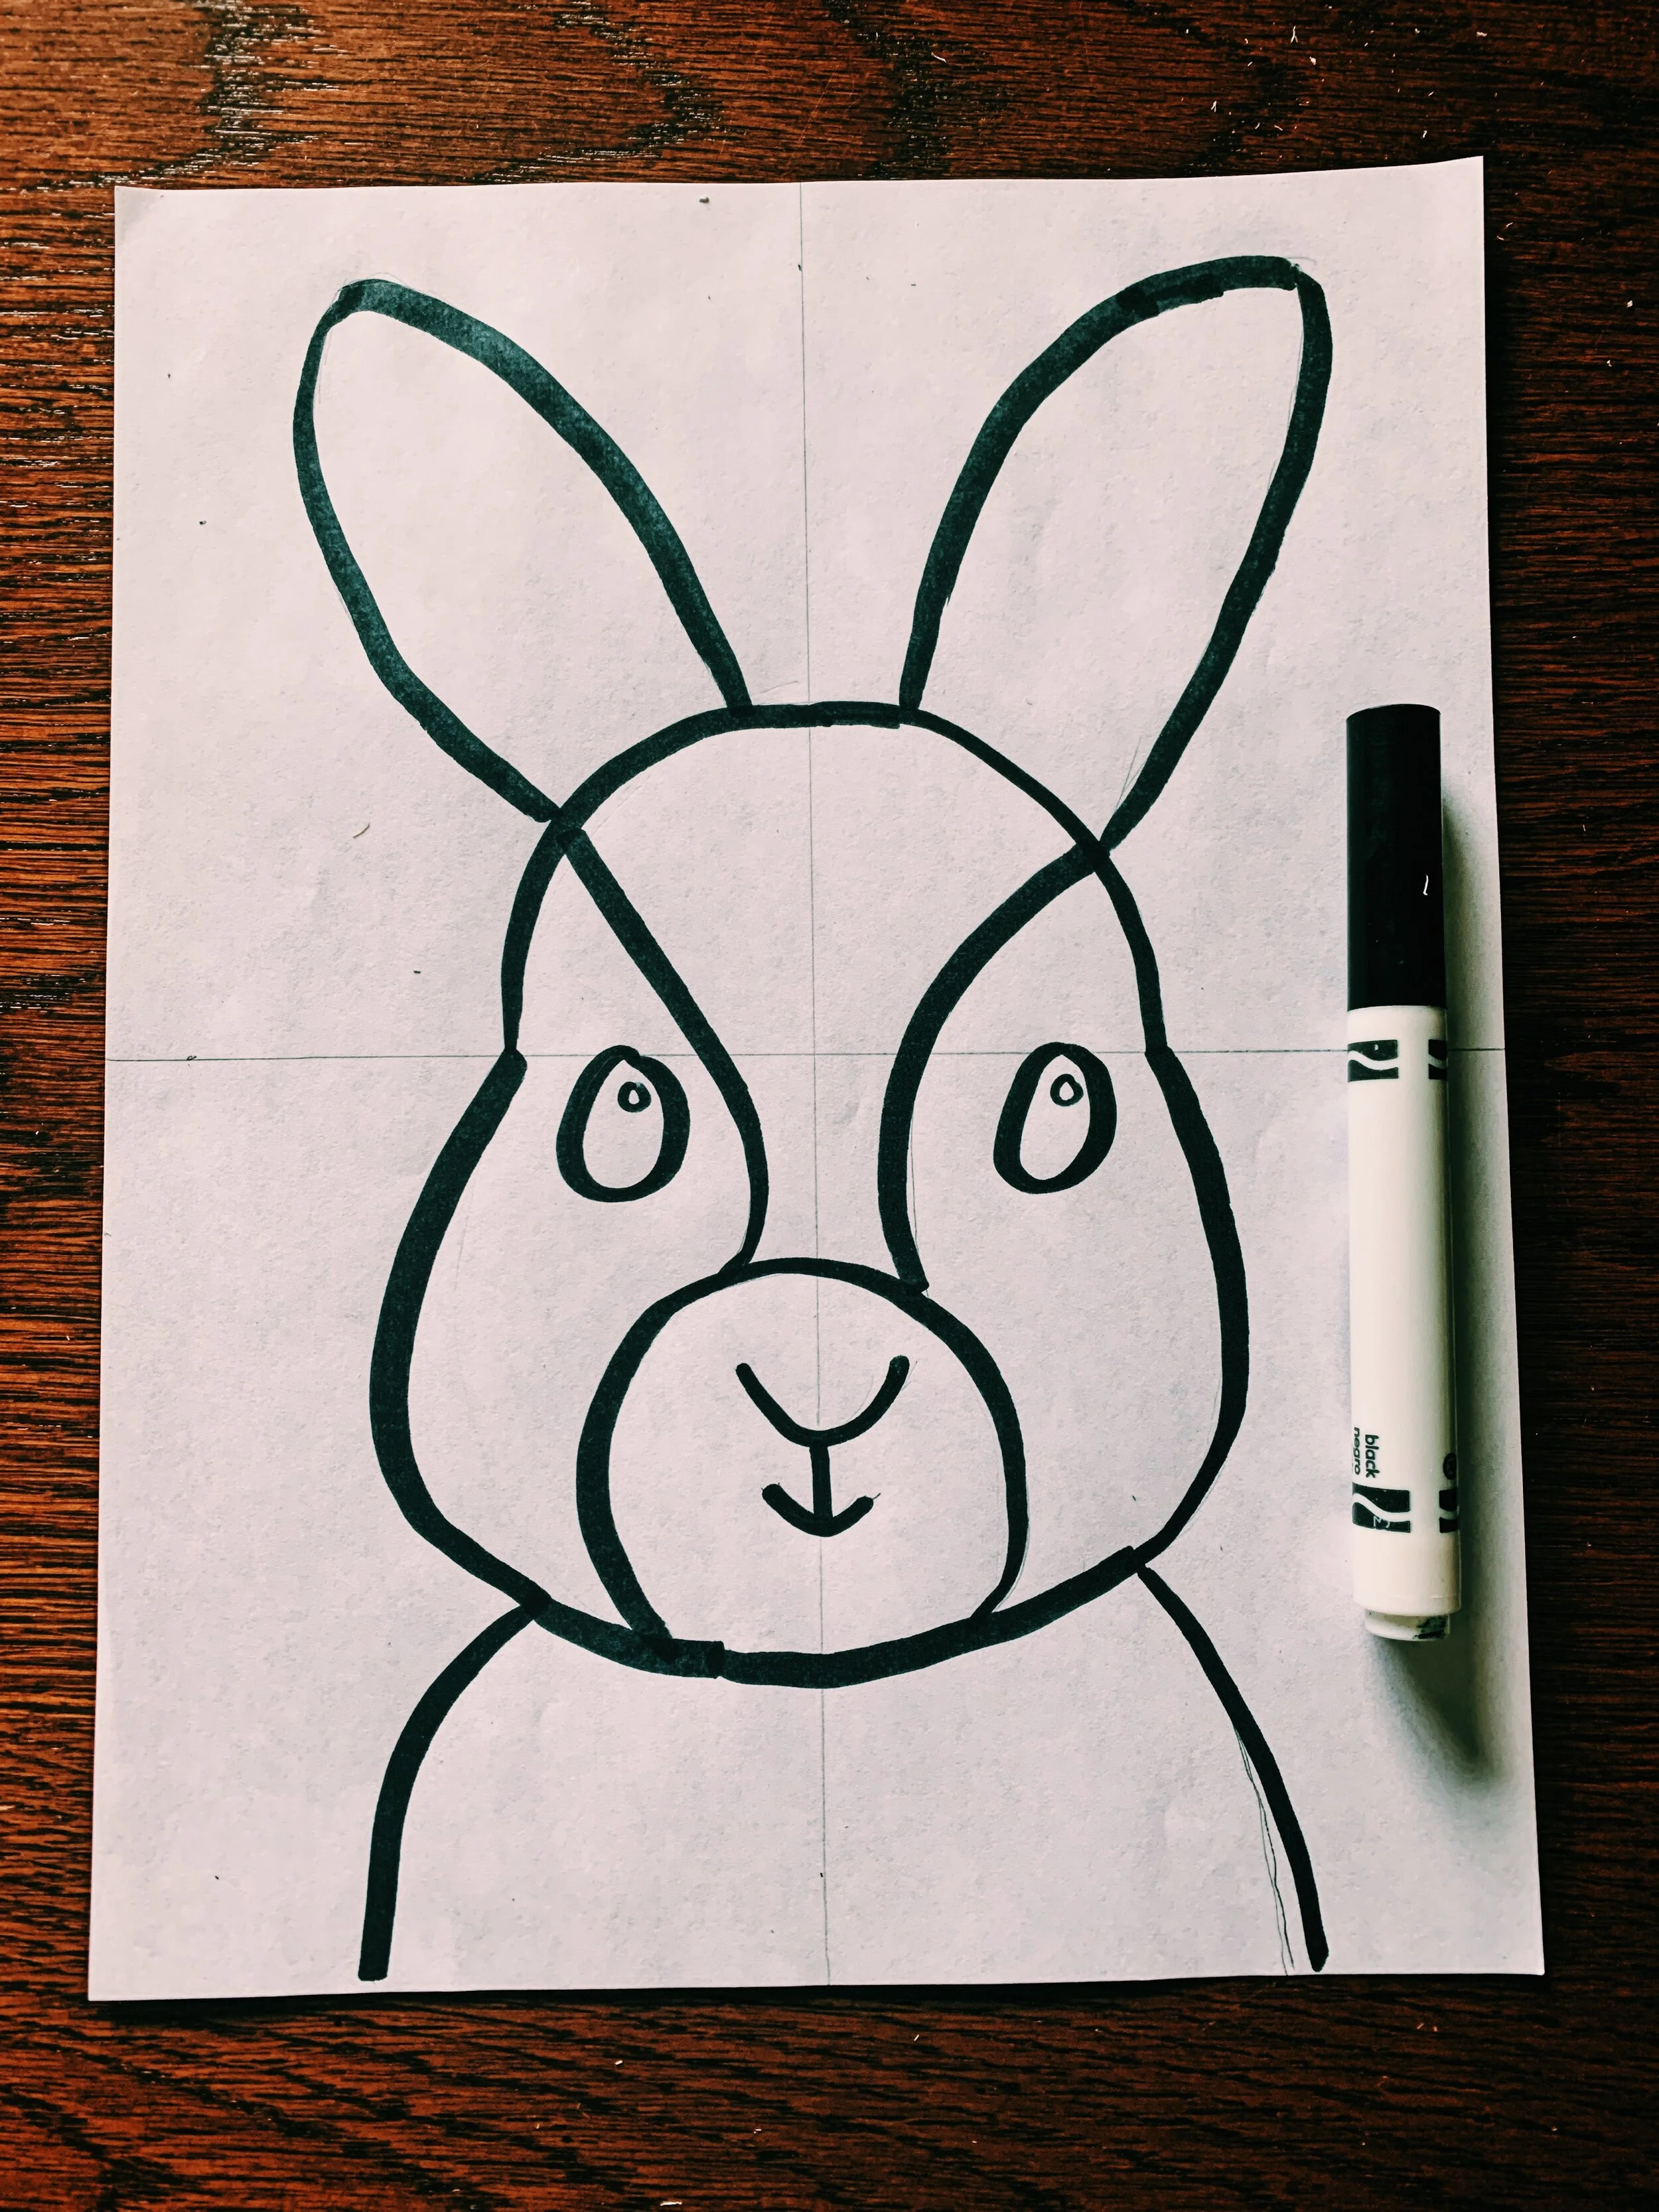
Details
Add two circles for eyes and the details on its mouth/nose.
Outline
Use a black marker to trace over our pencil marks. This will make an outline of our bunny.
Creating Guide Lines
This part is optional but I think it helps. I break my image up into sections using lines.
Add Patterns
Every section change the pattern. For this part use the black marker only.
Patterns!
You should have a bunch of awesome patterns.
Cut It Out
Now that we finished decorating the bunny, cut it out.
Great!
You should be left with this.
The Background
This is the part that you can create on your own. I chose to use a triangle shape to make a pattern but you can freehand draw this part or create a design tracing things. The only rule is that the entire page has to be covered!
Fully Covered
The page is done and now we just need to add our bunny.
Glue
Use the glue stick and put glue all over the opposite side of the bunny.
Finished
Once we stick it down on our background, we are finished! I hope you all enjoyed the project. Stay tuned for more.